You can create a custom kitchen island using repurposed furniture such as a dresser, bookshelf, or stock cabinets. By adding a new countertop and making a few modifications, you can build a functional and stylish piece that perfectly suits your space and storage needs.
### Option 1: Build an Island from a Repurposed Dresser
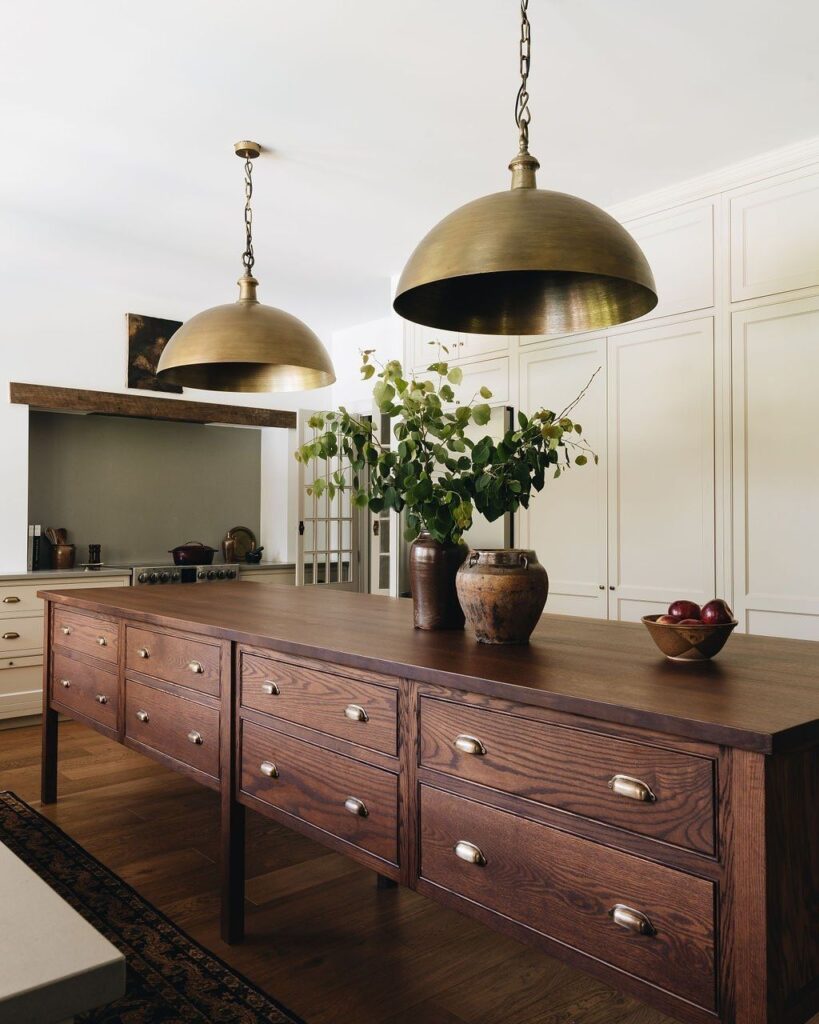
A sturdy, old dresser is ideal for upcycling into a kitchen island with built-in drawer storage.
**Materials and Tools:**
– A solid wood dresser: Look for one at a thrift store or garage sale.
– New countertop: Butcher block, plywood, or laminate are popular options.
– Caster wheels (optional): Lockable wheels allow you to move the island for extra space or cleaning.
– Paint and primer or wood stain.
– New hardware.
– Power tools: Screwdriver, drill, sander, and circular saw (optional for cutting lumber).
– Wood glue, screws, and nails.
**Instructions:**
1. **Prepare the Dresser:** Remove all drawers and hardware. Fill any old holes with wood filler, and sand the entire dresser to smooth the surface and help the new paint adhere.
2. **Add Open Shelving (optional):** To create a more open feel, remove the drawer supports for one or two levels and install a new shelf using plywood and wood cleats.
3. **Attach a New Top:** Securely attach your new countertop to the top of the dresser using screws from inside the dresser. If you plan to add a seating overhang, ensure you add extra support underneath.
4. **Paint or Stain:** Apply primer, followed by two or three coats of high-quality cabinet paint. Alternatively, use a chalky-finish paint that doesn’t require sanding or priming.
5. **Install Hardware and Wheels:** Add your new knobs or pulls. For mobility, flip the island over and attach lockable caster wheels to the bottom.
### Option 2: Convert a Bookshelf into an Island
For a simpler and more open island, a backless bookshelf provides ample storage space for pots, pans, and mixing bowls.
**Materials and Tools:**
– A backless bookshelf: Find one that is long and sturdy.
– New countertop: A wood slab, butcher block, or even a sealed plywood top.
– Legs and leg mounting plates: Choose wooden or metal legs to raise the island to counter height.
– Paint, stain, and sealant.
– Power tools: Drill and screwdriver.
– Wood glue, screws, and nails.
**Instructions:**
1. **Mount the Legs:** Flip the bookshelf upside down. Secure the leg mounting plates into each corner, then twist the legs into place.
2. **Attach the Top:** Cut your new countertop to size and finish it with a sealant or paint. Apply liquid nails to the top of the bookshelf and then secure the top with screws from underneath.
3. **Finish the Piece:** Paint or stain the bookshelf to match your decor, and add a sealant for durability and shine.
### Option 3: Combine Two Base Cabinets
For a professional, built-in look, combine stock kitchen cabinets with a new top. This option is great if you need ample storage and counter space.
**Materials and Tools:**
– Two stock base cabinets: Choose your preferred style and features, such as drawers or shelves.
– Countertop: Laminate, wood, or solid surface options work well.
– Side panels and back panel: Use cabinet panels or shiplap to cover exposed cabinet backs and sides.
– Base frame: Use 2x4s and plywood to create a solid and level base.
– Finish materials: Trim, paint, and new hardware.
– Tools: Circular saw, brad nailer, drill, and level.
**Instructions:**
1. **Build the Base Frame:** Create a wood frame with 2x4s and plywood that matches the footprint of your combined cabinets. Shim and level the frame, and then securely attach it to the floor.
2. **Combine the Cabinets:** Place the two cabinets back-to-back on the base frame. Clamp them together, and then drill and screw them together through the face frames.
3. **Cover the Exterior:** Attach cabinet panels or shiplap to the sides and back to hide the seams and give the island a finished look.
4. **Attach the Countertop:** Place the countertop on the cabinets, ensuring there is a 10-15 inch overhang for seating if desired. Use L-shaped brackets to secure it.
5. **Finish the Island:** Add trim, paint, and new hardware to complete the custom look.
Today is a great day to get started! Let’s embark on this exciting journey together. Reach out to Ashe County Realty today, and let our experienced team guide you through the real estate market. Whether you’re looking for a cozy cabin in the mountains or a charming home in town, we are here to help you find the perfect place to call your own.
#RealEstate #AsheCountyRealty #AsheCounty #AsheCountyNC #MountainLife #BlueRidgeParkway #HomesForSale #LandForSale #CommercialForSale
www.ashecountyrealty.com
In Ashe County, NC, you can find homes for sale that include charming log cabins, sprawling farmland, horse properties, commercial buildings in downtown West Jefferson, and beautiful homes along the New River. Ashe County Realty is ready to help you discover that perfect retreat!